Sunday, November 16, 2008

Box Beam Strongback

As if two projects were not enough, I am embarking on yet a third project - the Guillemot Double Kayak.  The Guillemot Double will be a stable, roomy kayak for Renee and me to play and camp with.  At 20' long, it will be relatively fast. It is strip built, and looks like fun project.

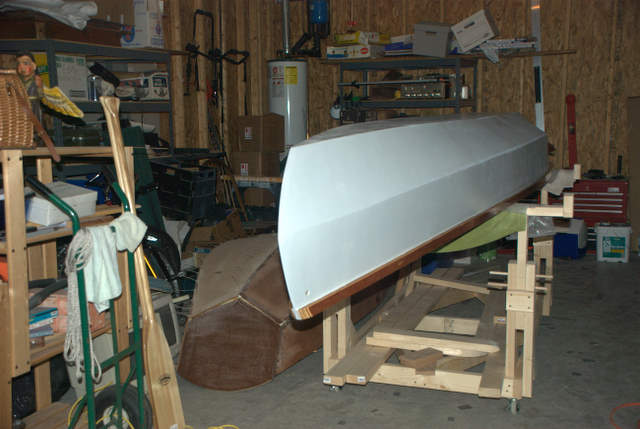
The first step in this process is the strongback.  The strongback is a 17' 11" 2x4.  Dimensional lumber isn't stable enough, so I built a box beam strongback out if 1/2" ACX.  It used roughly 5/8 of a sheet of plywood.

I cut the plywood into five 2 7/16" widths and five 3 15/16" widths.  The wider strips were rabbetted on the edges to accept the narrower strips.  The ends were tapered according to the plans.  See The Strip Built Sea Kayak by Nick Schade for more information.


Posted by Picasa

Monday, November 3, 2008

Learning to tie my shoes

Finally, at the age of 47, I have learned to tie my shoes.  No, really tie my shoes.

Last Thursday (4 days ago), I reached down and tied my shoes again.  I wear boat shoes so I can slip them on and off, but still they tie, ideally, not often.  I have to tie my shoes every hour.

At that point the light bulb went off:  I remembered reading on the great Animated Knots by Grog site that the shoelace knot is a square knot.  Now, I had never given any thought to my shoelace knot.  I just tied it when it needed it, but now I am tired of tying them every hour.  So I examined my shoes.

Granny knots!  Ugh!

No wonder they constantly came untied, and every bow I tied was twisted and ugly.  Now to figure out how to fix it.

Simple.  I tied my shoe, and paid attention to the start.  It was a granny knot this time.  Then I tied it again, pausing to reverse the start (the lace on top becomes the lace on the bottom).  Bingo!  Square knot.  I tied both shoes.

So why am I posting this on Monday, 4 days later?  Because this is the first time since then I retied my shoes.

For more info, see the Grog's site, or Ian's Shoelace Site by Ian Fieggen.  There you will learn about far more than knots.

Kindergarten teachers - make your life easier.  Learn this knot the right way so that the 1 or 2 kids in your class without velcro clasp shoes won't need you to tie their shoes more than once a day.

Monday, October 27, 2008

Test Launches

On Sunday, October 26, I took the canoe out for a test launch with the boys.  The canoe is not yet finished.  It has two coats of primer outside, and will receive two more.  Fairing is needed inside.  The breasthooks are not installed, although thwarts are installed at the breasthooks.  After all of that, it needs paint.  We are taking it out because it is ready enough, and we don't want to wait until next spring.

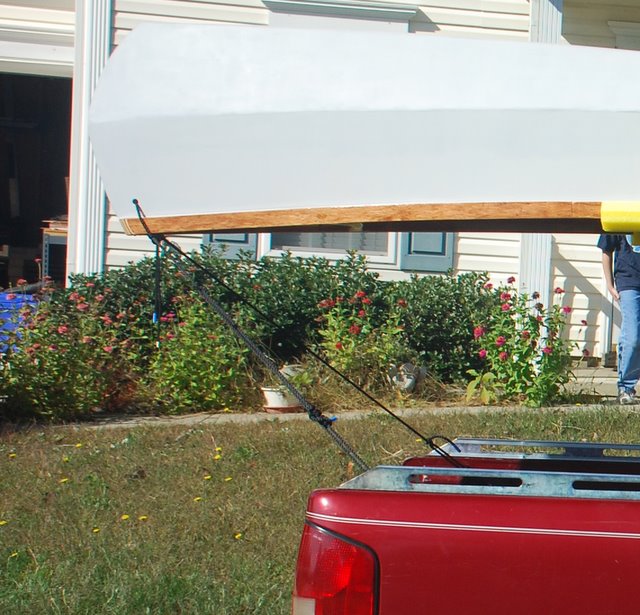
Renee wanted to go, but her work schedule, combined with a little car trouble, bumped her to another trip.  Not only was this a test launch for the canoe, it was a test for my redneck conoe rack assembled from 2x4's and sheetrock screws.  The rack worked well, by the way.

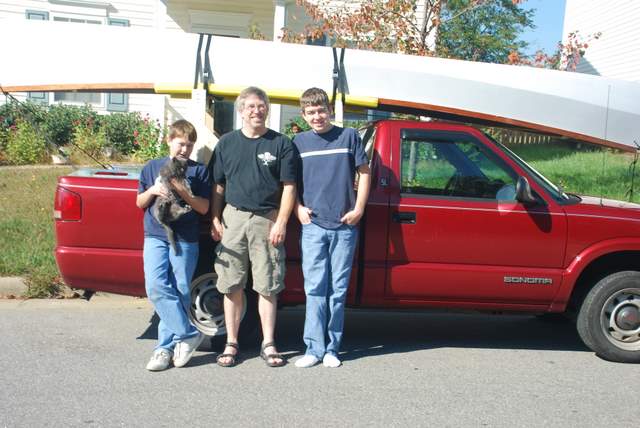
My crew for the day.

The launch site was  Lake Crabtree County Park in Cary, NC.

View Larger Map


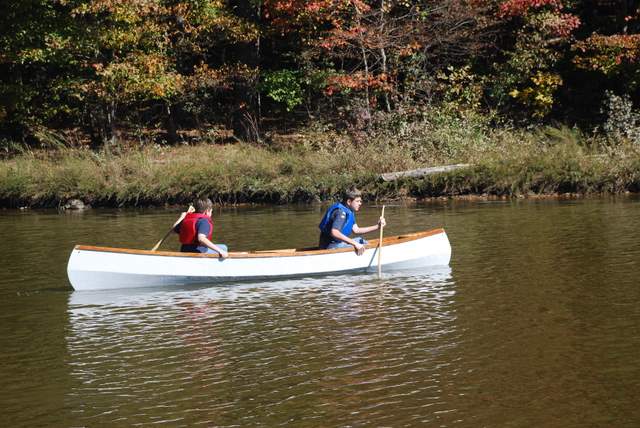
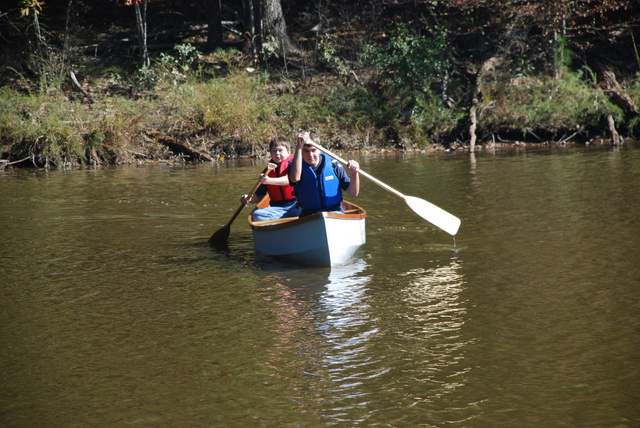
I had the boys paddle out for pictures.  These two pictures look calm and peaceful as the canoe makes a turn back to the beach.  The actual scene was much more chaotic as they learned that side-to-side motions in a round bottom canoe cause a lot of tipping.  No one got wet, and no water was taken aboard.

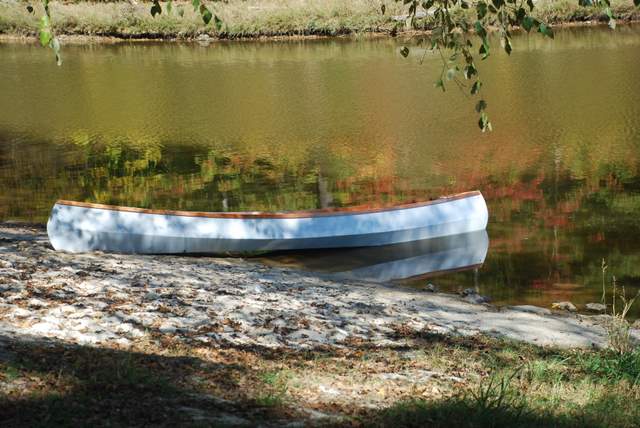
The best picture we'll have until it is painted.


The weather was very calm, as you can see.  We paddled the length of the lake, beached the canoe, hiked a few hundred feet of the greenway there, and found a spinning reel on the beach.  It worked.

I went back out Monday with Renee and her friend Nikki from work.  Another calm day.  We paddled the length of the lake again.

This canoe feels tippy because of the rounded bottom, but has good secondary stability.  It won't capsize or take water unless you panic, or are trying very hard.  The tracking is excellent.  It paddles easily, and two paddlers can achieve good speed.  It steers easily.  If you are considering building a canoe, I would recommend this one.

Monday, October 20, 2008

Outside Fairing Done, Priming Begun

It seems I have been fairing forever.  For the last month, I have rushed home from work everyday, carried or rolled the canoe out into the driveway, and sanded.  And sanded.  And sanded.  Then, I wiped down the entire canoe, a dried it.  And then, mix up a batch of fairing putty (a sort of bondo for boats), try to spread it all out where it is needed before it is too stiff, and even spread some after it is too stiff.  Everyday. And this is the outside only.  The inside will come later.

For fairing the outside, I used blended filler of microballoons and colloidal silica in epoxy.  The microballoons are very fine, and so is the silica, so I wear a good respirator for mixing, fairing, sanding, and cleaning up.  At first, I purchased blended filler from BoatBuilderCentral.com, but after I discovered how much I would need, I mixed my own.  It's cheaper.

A lot of fairing has been required to cover up my early  mistakes.  I had misaligned the panels in several places.  I built up the hollow areas in several layers.
Covered in fairing compound.


Staying safe.   The dust is fine, and contains silica.


Now that the fairing appears finished,  I am going to prime the outside to seal the fairing in anticipation of a test launch of the canoe.  I am using System Three Silver Tip Yacht Primer.

I applied two coats of primer (so far) with a foam roller.  I used the Whizz brand from Lowe's.  Two rollers were required to roll on a full coat of primer onto the canoe. The primer went on well.  I rolled and tipped (probably not necessary, but it didn't hurt).

Priming exposed a few imperfections I will fix later.  Here is the primed canoe.

Saturday, October 18, 2008

Tie Down Holes

I asked for ideas on the bateau forum on how to include tie down points in my canoe.  I received many good suggestions, and they guided my design.

Some suggested a handle.  I did install a handle.  It is for carrying, not tying down.

I settled on holes through a glob of putty. I wouldn't call it an endpour. Each blob is only 3 ounces plus wood flour. I did not care about how the blob looks because I am going to hide it with foam under the breasthooks.   Above, you can see the cleats for the breasthook.

First, a 5/8" hole 1/4" to 1/2" inch behind the end fillets. 

Then I inserted a 1/2" OD PE tube as a form.  I chose poluethylene because it retained its round cross-section, which vinyl tubing does not.

I globbed 1 1/2 ounces of putty (falf of a batch) around the tube on each end, making sure it squeezed  out past the tube to the outside of the canoe.  After it hardened, I put another half batch on to caver the tube well.  I only have a picture with half of the putty on. 


A few days later, I gripped the tube, twisted hard, and pulled it right out, leaving behind a glass smooth tunnel through the end.  I dressed the hole with a bevel.  I will graphite the interior, not because it is necessary, but because it will look good. 

Here, you see it in action.

Monday, October 6, 2008

The Work Cart

Until now, I have been workin with the canoe on a pair of sawhorses.  I like to sand outside.  Getting the canoe in and out of the garage by myself is an ordeal.  Then the final straw - the sawhorses are never the right height for comfortable work.  After sanding the underside of the rubrails, I spent the next day moving gingerly because of back spasms.

I needed a cart.  The requirements?  It has to be capable of supporting the canoe (16') and the D4 dinghy (7 1/2').  It has to roll in and out of the garage.  The height has to be adjustable 24" to 40".  It has to be stable and sturdy.

After a couple of trips to Lowe's for 2x4's, sheet rock screws, castors, and dowels, here is the result, nearly finished.

The uprights are two 2x4's with a sliding 2x4 in between.  The height is set with 2 dowels in each upright.  Working is so much more comfortable now.

In the picture below, it is finished.  The bracing makes a handy lumber storage rack.

Sunday, September 28, 2008

Beginning the D4

I'm working on the D4 again, after 9 years.  I was at a waiting point in the canoe, so I stitched it together with my son, Alston.  He has watched me carry the parts for this boat around the entire time, so he was excited to help.

Recapping what was done 9 years ago,  I cut out all of the panels and the frames.  The panels are a luan plywood, and the frames are AC.  The transoms are 3/4" laminated from 1/4" plywood.  I wanted the option of putting a small motor on it.  I misunderstood the directions and laminated the bow transom as well.  I added an extra pound or 2.  Oh, well.

I am stitching it together with tie-wraps and 3/4" dowels.  I started by screwing the panels to the frames, mid-seat bow fore frame first, stern transom second, bow transom third, then the rest.  We loosely stitched the pieces together.  We will tighten, adjust, and tack the seams later.  Alston came in especially handy, since he crawled under that tiny boat, and fed the tie-wraps back to me.

Side view, through my work cart (next topic).

Front view.

Rear view.  Notice the daggerboard trunk halves, coated on the inside with graphite and epoxy.  These have been done with left over epoxy.